

There is something almost magical about eating sushi with the water lapping a few feet away, and this boat-side sushi party platter is built to make that happen without a caterer. Instead of one fussy roll, you assemble a generous spread of seasoned rice, crisp vegetables, silky salmon and tuna, and a few hot snacks that hold up beautifully outdoors.
Advertisements1
The trick is planning for the boat, not the kitchen: sturdy nori cones, rice that stays tender for hours, and a sauce bar that travels in jars. Everything is prepped in about 50 minutes on land, then arranged on a flat platter or bamboo boat tray so guests can graze as the boat drifts.
Serve it with cold drinks, plenty of napkins, and a small bowl for spent soy-sauce dishes. It is relaxed, shareable, and genuinely impressive with almost no last-minute cooking.
Why You'll Love This Recipe
About the Ingredients
3 cups (600g) short-grain sushi rice, rinsed until the water runs clear
Short-grain is essential for sticky, sliceable bites; do not substitute long-grain or jasmine rice. Find it in the Asian aisle or a Japanese market for the best texture.
1/2 cup (120ml) unseasoned rice vinegar
Seasoned rice vinegar already contains sugar and salt, so reduce the added sugar to 1 tablespoon if using it. Avoid white distilled vinegar, which is too harsh.
3 tablespoons (38g) granulated sugar
Superfine sugar dissolves fastest into warm rice; if you only have coarse sugar, stir it into the vinegar over low heat first.
1 1/2 teaspoons (9g) fine sea salt
Fine sea salt blends evenly into the rice; kosher salt works but use 2 teaspoons since the crystals are larger.
12 ounces (340g) sashimi-grade salmon, sliced into 1/4-inch pieces
Ask the fish counter for sashimi grade and confirm it was frozen at -4F (-20C) for parasite safety. Frozen-then-thawed tuna is a reliable substitute.
8 ounces (225g) cooked large shrimp, tails on
Buy pre-cooked shrimp to save time, or poach raw shrimp in simmering water for 2 minutes until opaque and pink. Pat dry so they do not water down the platter.
8 sheets nori, cut into quarters
Toast nori briefly over a low flame for 5 seconds per side to restore crispness. If nori is limp, it will tear when guests roll cones.
2 avocados, sliced, plus 1 cucumber and 2 carrots, julienned
Toss avocado slices in lime juice to slow browning. English cucumber has fewer seeds and stays crisp longer than regular cucumber.
1/2 cup (120g) soy sauce, 3 tablespoons (45g) mayonnaise, 1 teaspoon sriracha
Mix the mayo and sriracha into a spicy sauce for drizzling. Tamari is a gluten-free swap for soy sauce.
2 tablespoons (18g) toasted sesame seeds and 4 scallions, thinly sliced
Toast sesame seeds in a dry pan over medium heat for 2 minutes until fragrant. Skip if allergies are a concern and use furikake instead.
Tips & Tricks
Cool rice correctly
Spread seasoned rice on a wide tray and fan it for 10 minutes until it reaches body temperature, which keeps grains glossy instead of gummy.
Keep raw fish cold
Nest the salmon platter over a bowl of ice and never leave it in direct sun for more than 20 minutes at a time.
Build in the right order
Put nori, rice, and fillings in separate stations so guests assemble in seconds and nothing turns soggy.
Pack sauces separately
Transport soy sauce and spicy mayo in sealed jars and pour at the table to avoid leaks and spills.
Pro Tips
Step-by-Step Instructions
1. Cook the rice
Combine the rinsed rice with 3 1/2 cups (830ml) water in a pot, bring to a boil, then cover and simmer at 200F (93C) for 15 minutes until the water is absorbed and the grains are tender but firm. Rest off heat for 10 minutes, then fluff.
2. Season the rice
Warm the vinegar, sugar, and salt in a small pan over low heat at 150F (65C) for 2 minutes until dissolved, then fold gently into the rice with a rice paddle. Fan the rice for 10 minutes until it is glossy and just warm to the touch.
3. Slice the fish
Pat the salmon dry and slice against the grain into 1/4-inch pieces, keeping them cold on a plate over ice. The fish should look firm, bright, and clean-smelling.
4. Prep the vegetables
Julienne the cucumber and carrots, slice the avocado, and toss the avocado with a squeeze of lime. Keep each vegetable in its own container so colors stay distinct.
5. Make the sauces
Stir the mayonnaise and sriracha together until evenly pink, and pour the soy sauce into a small jar. Taste the spicy mayo and add more sriracha if you want a stronger kick.
6. Toast the nori
Pass each nori quarter over a low gas flame for 3 to 5 seconds per side until it smells toasty and turns slightly crisp. Cool completely before stacking so it does not steam.
7. Build the platter
Arrange the rice in one corner, fish and shrimp on a chilled tray, nori in a stack, and vegetables in neat rows. Scatter sesame seeds and scallions over the top and tuck sauce jars into the corners.
8. Serve on the water
Set the platter on a stable, level surface and let guests build cones and nigiri. Replenish from coolers every 20 minutes and keep raw fish chilled throughout.
Delicious Variations
Cooked-Only Boat Platter
Swap raw salmon for seared tuna and add tempura shrimp for a fully cooked spread that is safer in heat.
Veggie Garden Boat
Use pickled radish, mango slices, and grilled asparagus with a ponzu dipping sauce for a meat-free version.
Chirashi Bowl Style
Layer the rice in a shallow bowl, arrange fish and vegetables on top, and let guests scoop instead of rolling.
How to Store Boat-Side Sushi Party Platter
Refrigerator
Store components separately in airtight containers for up to 24 hours; keep raw fish at 38F (3C) and use within one day of purchase.
Freezer
Do not freeze assembled sushi or raw sliced fish; freeze only the cooked rice for up to 1 month and reheat before seasoning.
Reheating
Rice can be microwaved with a splash of water for 1 minute until steaming; never reheat fish or assembled rolls.
Frequently Asked Questions
Q: Can I make this sushi platter ahead of time?
Yes, you can prep the rice, sauces, and sliced vegetables up to 4 hours ahead and keep them chilled. Slice the fish no more than 1 hour before serving and keep it on ice until the platter goes out.
Q: How do I keep sushi rice from getting hard on a boat?
Keep the rice covered with a damp towel and store it in a cooler at 40F (4C) or below. Rice firms up when cold, so let it sit at room temperature for 10 minutes before guests start building.
Q: Is it safe to eat raw salmon outdoors?
Yes, if the salmon is sashimi grade and kept cold on ice the entire time. Discard any fish that has been above 40F (4C) for more than 2 hours.
Q: What can I use instead of nori?
Soy paper wraps or thin rice paper sheets work well and hold up better in wind. You can also serve the fillings over rice as chirashi bowls instead of cones.
Q: How much sushi do I need per person?
Plan on about 1 cup of cooked rice and 3 ounces of fish per person for a full meal. This platter serves 6 generously with snacks alongside.
Gather your crew, pack the cooler, and build this boat-side sushi platter for your next day on the water. Tag your floating feast photos so we can see how your table turned out!
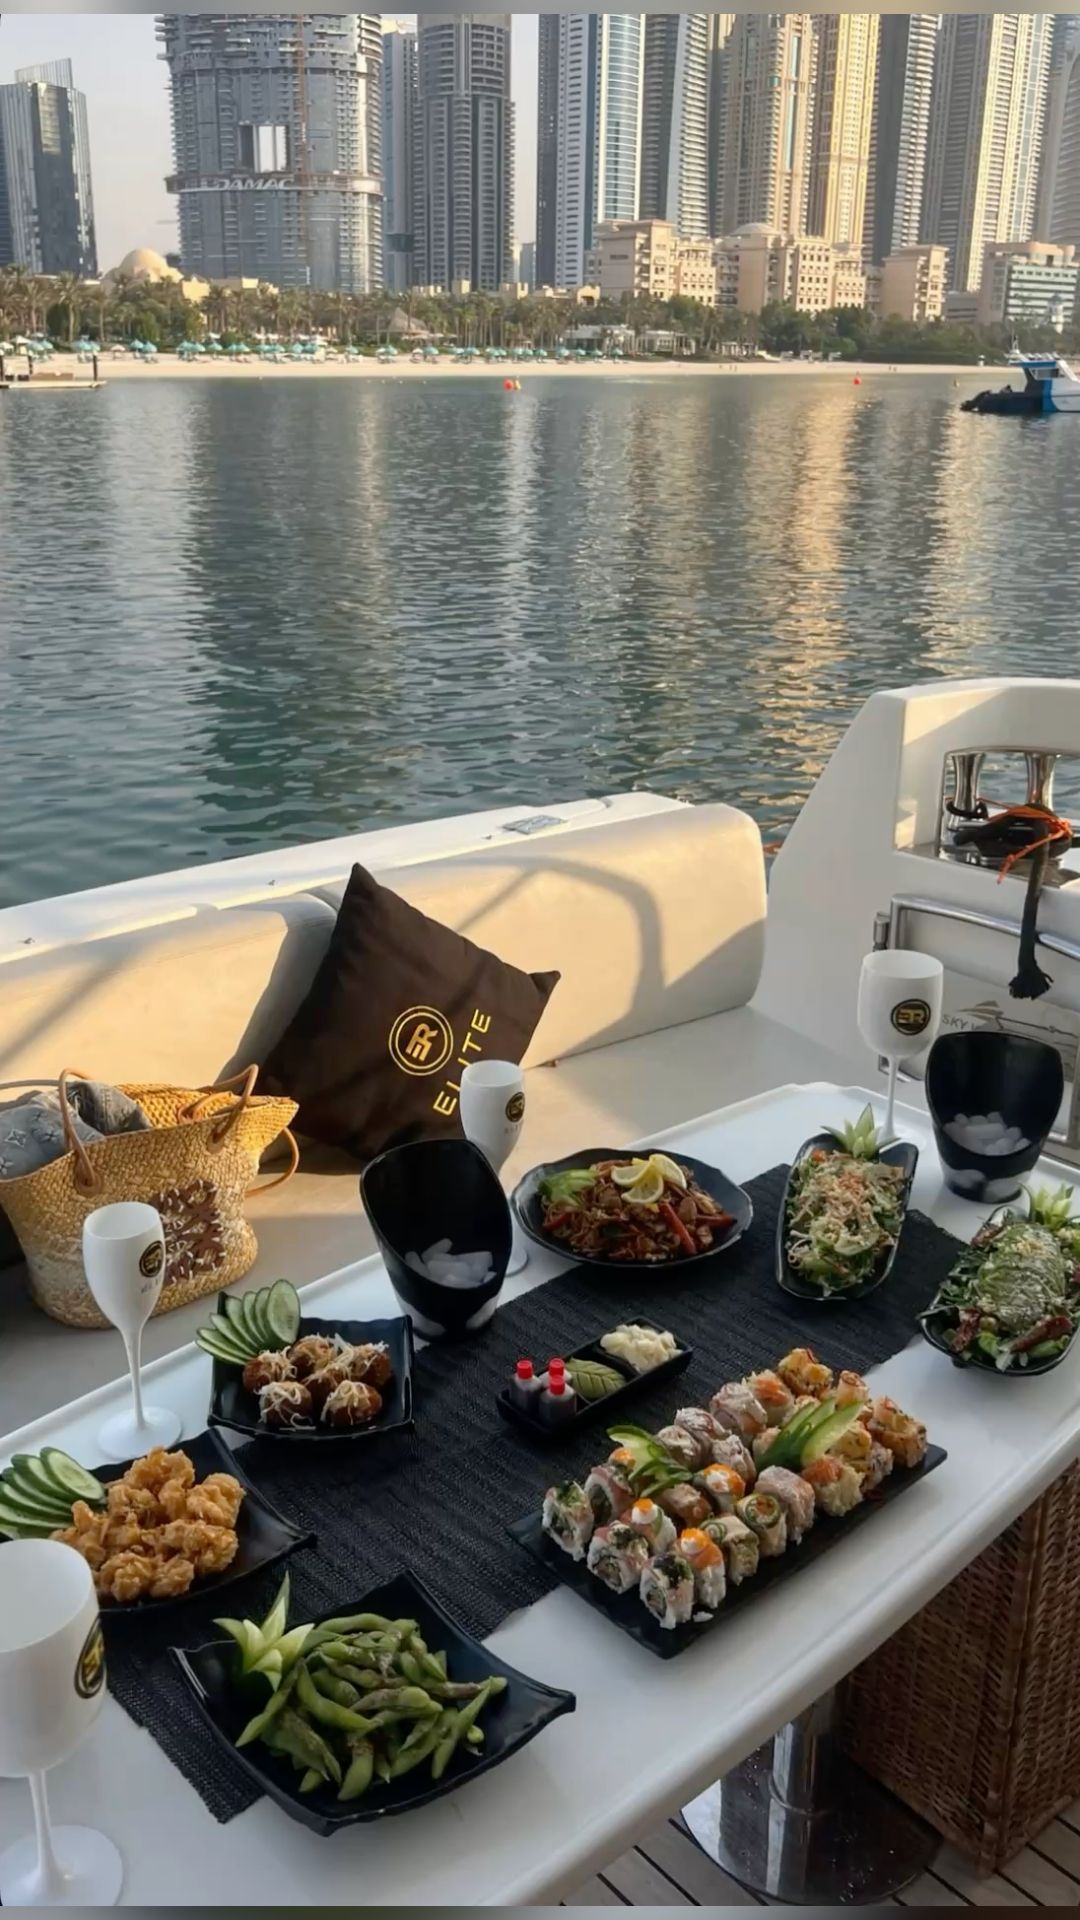
Boat-Side Sushi Party Platter
This boat-side sushi party platter brings a floating feast of fresh rolls, sashimi and snacks to your table for an unforgettable waterside gathering.
🧂 Ingredients
- 3 cups (600g) short-grain sushi rice, rinsed until the water runs clear
- 1/2 cup (120ml) unseasoned rice vinegar
- 3 tablespoons (38g) granulated sugar
- 1 1/2 teaspoons (9g) fine sea salt
- 12 ounces (340g) sashimi-grade salmon, sliced into 1/4-inch pieces
- 8 ounces (225g) cooked large shrimp, tails on
- 8 sheets nori, cut into quarters
- 2 avocados, sliced, plus 1 cucumber and 2 carrots, julienned
- 1/2 cup (120g) soy sauce, 3 tablespoons (45g) mayonnaise, 1 teaspoon sriracha
- 2 tablespoons (18g) toasted sesame seeds and 4 scallions, thinly sliced
📋 Instructions
- 1Cook the rice — Combine the rinsed rice with 3 1/2 cups (830ml) water in a pot, bring to a boil, then cover and simmer at 200F (93C) for 15 minutes until the water is absorbed and the grains are tender but firm. Rest off heat for 10 minutes, then fluff.
- 2Season the rice — Warm the vinegar, sugar, and salt in a small pan over low heat at 150F (65C) for 2 minutes until dissolved, then fold gently into the rice with a rice paddle. Fan the rice for 10 minutes until it is glossy and just warm to the touch.
- 3Slice the fish — Pat the salmon dry and slice against the grain into 1/4-inch pieces, keeping them cold on a plate over ice. The fish should look firm, bright, and clean-smelling.
- 4Prep the vegetables — Julienne the cucumber and carrots, slice the avocado, and toss the avocado with a squeeze of lime. Keep each vegetable in its own container so colors stay distinct.
- 5Make the sauces — Stir the mayonnaise and sriracha together until evenly pink, and pour the soy sauce into a small jar. Taste the spicy mayo and add more sriracha if you want a stronger kick.
- 6Toast the nori — Pass each nori quarter over a low gas flame for 3 to 5 seconds per side until it smells toasty and turns slightly crisp. Cool completely before stacking so it does not steam.
- 7Build the platter — Arrange the rice in one corner, fish and shrimp on a chilled tray, nori in a stack, and vegetables in neat rows. Scatter sesame seeds and scallions over the top and tuck sauce jars into the corners.
- 8Serve on the water — Set the platter on a stable, level surface and let guests build cones and nigiri. Replenish from coolers every 20 minutes and keep raw fish chilled throughout.